Intro to Git and Github Part 1 Commits and Pushing to Origin
Why Git?
Git allows us to track changes in a project and maintain a codebase more easily. This is especially important when working in teams. Git allows us to create different timelines called "branches" so we can test code, allow team members to work in isolation of each other, and to allow revision of our codebases in the cases of bugs. This guide will jump back and forth between command line Git and Github Desktop.
Starting a Project With Git
To begin using Git you need to ensure you have Git downloaded and installed. Download Here
Let's now createa folder to represent our project somewhere in our computer. I have a folder called "repos" to house all of my Git codebases. I would encourage you to do something similar. Inside that folder you can create a new folder and we will call it "Git-Intro". Clicking inside that folder we can copy the url or location of that folder to be pasted into VSCode. Alternatively we can just open the folder normally once inside VSCode.
Once inside VSCode I opened my folder using the 'file' and 'open folder' commands.
Now let's create a Git repository using the terminal (CTRL/CMD + `) and the command
git init
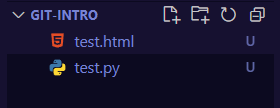
And we will create 1 HTML file and 1 Python file. Let's call them test.HTML and test.py. Let's add some code and test a Git commit. Your folder should look as follows.
In the terminal type
git add test.py
We have now added test.py to the staging area. Using the following command
git status
we can see that test.py is a changed file ready to be committed where as test.html is "untracked", meaning it is not yet part of our git history. Let's remove test.py and try adding both files this time.
git rm --cached test.py
git status
We now see that we have removed test.py from the git tracking. Let's add both files with 1 command this time.
git add .
git status
We now see both files are being tracked. Our staging area and local environment now match. Now let's commit the files.
git commit -m "Our First Commit!"
Now checking the status we see "On branch master nothing to commit, working tree clean". This means all our files are ready to be sent to Github and we have a working git repository!
Github
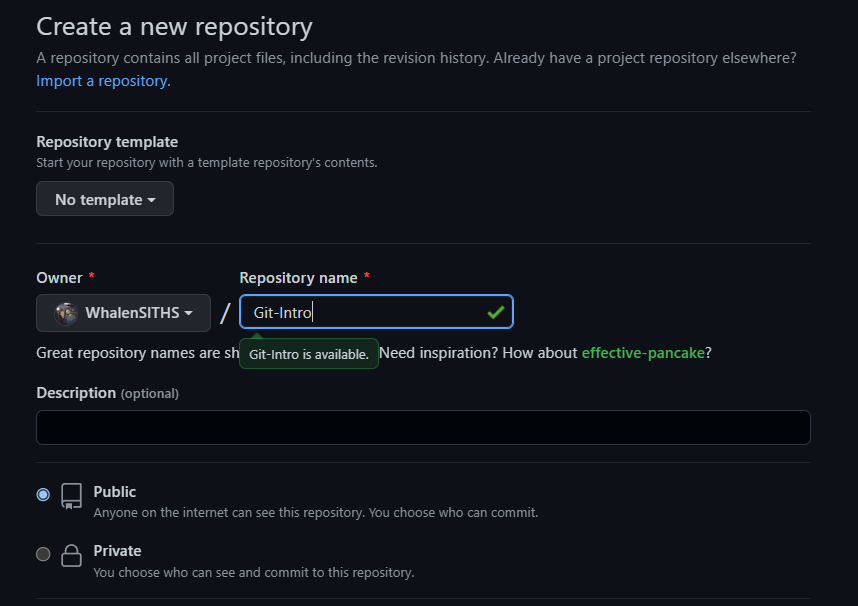
Now on Github we can create a remote repository and link it to this local environment.
Let's copy the Github repo link

Now let's connect that link to our local repo with the following command
git remote add origin "URL HERE"
We're not done yet. Let's "push" our commit to the remote repo using the following command.
git push -u origin master
Now we can check Github and our remote repo to see if our changes are there. And indeed our changes are there! If you notice the timestamp for the commit, it's the time you committed locally not the time you pushed to the remote repo.
Finally let's change a file and stage, commit push and view on Github. I'm going to change test.py to print "Hello World!" You'll now see an updated test.py in our Github repo. You may have also noticed thatit showed a file was changed, a file was inserted and a file was deleted. That's a reference to us changing test.py.
Github Desktop
We can do all the functionality above in a GUI by downloading Github desktop. I recommend Github desktop for beginners but it does have weaknesses as you get into more complex git task. The git command line gives us addtional functionality not found in the GUI. \
Adding our Repo to Desktop
We can easily create and publish new repos to Github from the GUI using file new repo. Given that our repo is local we can simply just add it to be managed by github desktop.
Click file, add local repository and navigate to the folder hosting your repo. Let's make a change in test.py or html and see how that is reflected here in the GUI. Let's also add a new file, style.css and see that added here.
You can see that style.css shows a green symbol to indicate new file while test.html is yellow to show changes. We can click the changed file to see what changes occured.
Let's finish up by adding a summary in the bottom left (our commit message) and pushing to origin. Make sure to click commit and then click push to origin on the top.
Pulling Changes from our Home PC
Git is not automatic. Neither the GUI or command line will download your changes you made at home. To do so let's manually create a file in Github. I clicked add file, create new file, app.js. Be sure to click below to commit. Now that we made a new commit let's access it from the GUI then the command line.
In the GUI, click "fetch origin" followed by pull origin. Note that before clicking pull origin it shows how many commits you are downloading. If we open our VSCode we will see the new file is there. Let's add one more file and pull via the command line. The file itself does not matter, I created test.yaml
git pull
Git pull pulls down the latest commits from the remote repo. I now see the new file. Check out this Git Cheatsheet for more commands. In the next article we will explore git branches for teams. Download Here